 Magic Today Photography
Planning & Timeline
Complete Wedding Photography Timeline: From Engagement to Album Delivery
A month-by-month roadmap for organised couples. Every step, every deadline, and every delivery window, explained clearly.
Quick summary
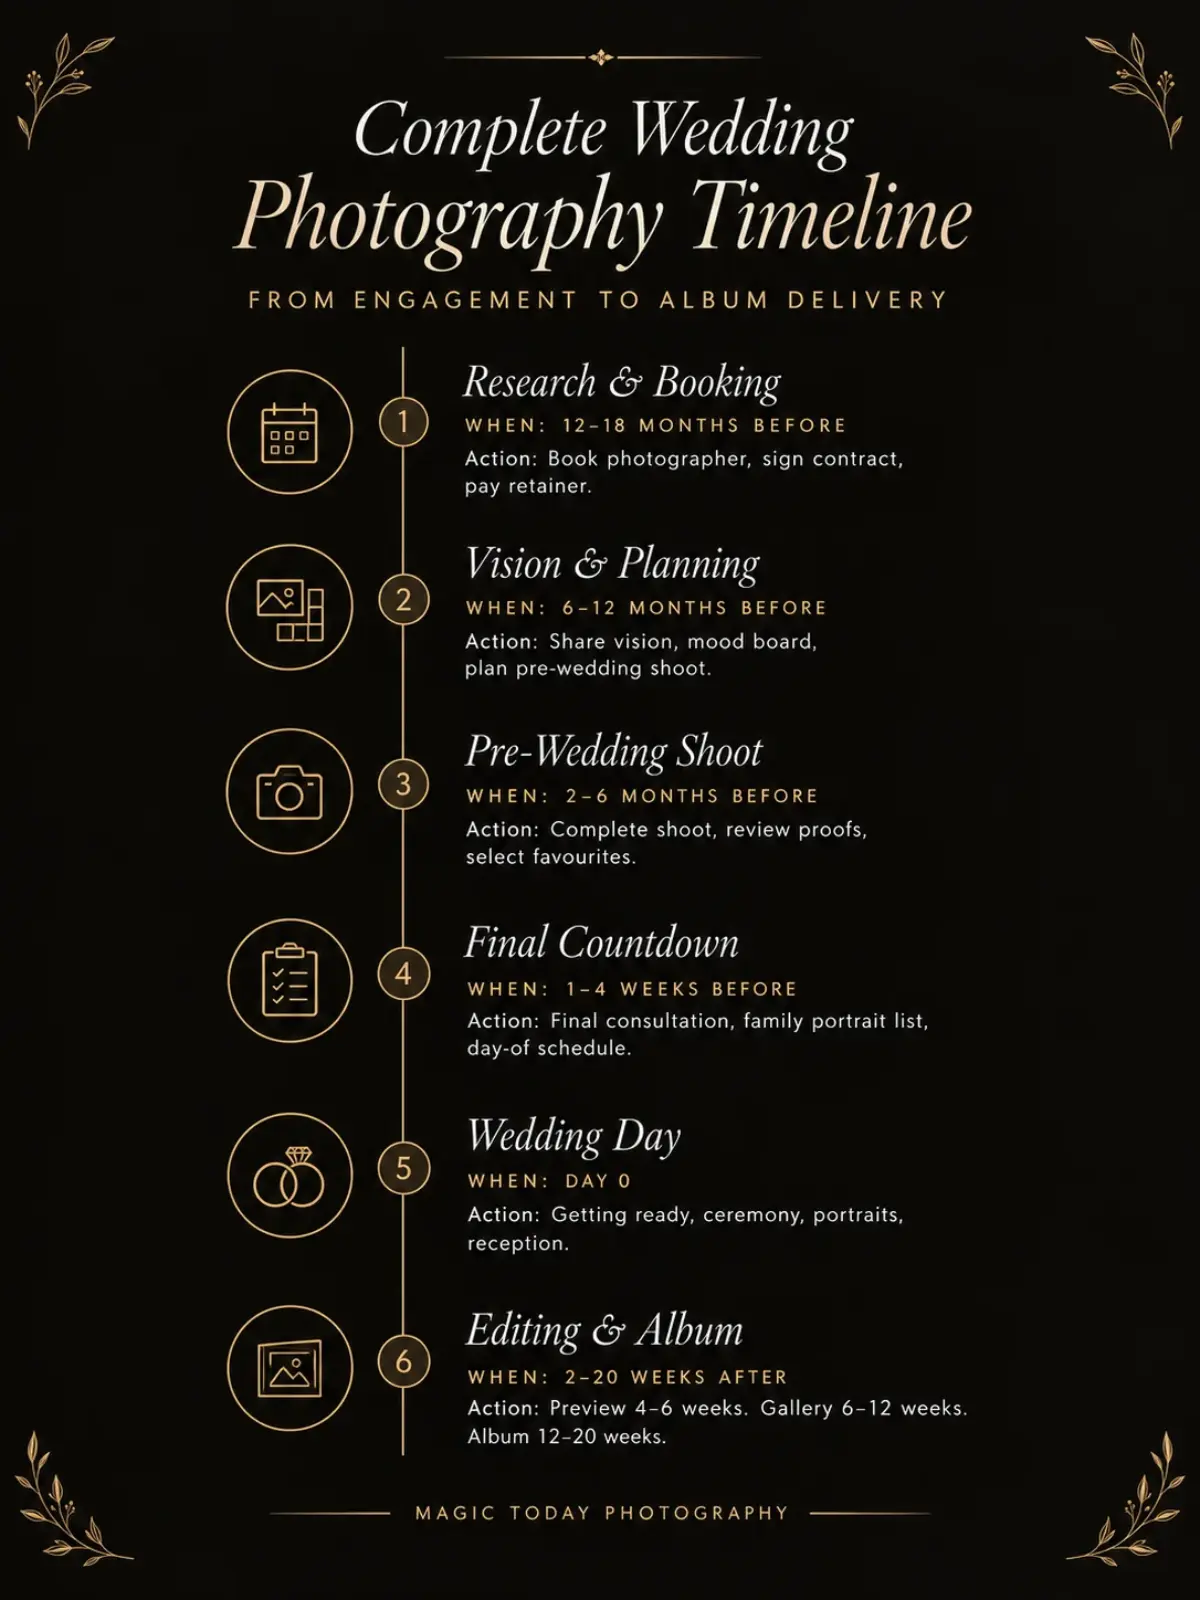
12–18 months before: Research, shortlist, and book your photographer. Sign the contract and pay the retainer.
6–12 months before: Share your vision, create a mood board, plan the pre-wedding shoot, and do a venue walkthrough.
2–6 months before: Complete the pre-wedding shoot and review the proofs.
1–4 weeks before: Final consultation, family portrait list, day-of schedule, and emergency kit.
Wedding day: Getting ready, ceremony, portraits, reception. Trust your photographer.
After the wedding: Preview in 4–6 weeks. Full gallery in 6–12 weeks. Album in 12–20 weeks.
Keep reading for the full month-by-month breakdown, checklists, and expert tips.
All timelines are typical ranges. Actual timelines may vary based on the number of events, photographer workload, season, and specific requirements. Always confirm delivery dates in your contract.
The conversation that started this post
The Bride Who Had a Spreadsheet for Everything
Ananya had a spreadsheet for her wedding. Not one spreadsheet. Eleven. One for vendors. One for the guest list. One for outfits. One for the timeline. She had colour-coded every task, set reminders, and shared the whole thing with her fiancé, her parents, and her wedding planner.
She was organised. She was prepared. She was also terrified.
"I have everything planned," she told me during our first call. "But I have no idea when to do what with the photography. When do I book? When do we do the pre-wedding shoot? When do I get the photos back? When does the album come? I feel like I am missing something and I do not know what."
She was not missing anything. She just did not have a photography timeline.
Most couples do not. They book a photographer, show up on the wedding day, and then wait. And wait. And wonder when the photos will arrive. And then wonder when the album will arrive. And then wonder if they should have asked more questions.
This post is for Ananya. And for every organised, anxious couple who wants to know exactly what happens, when it happens, and what they need to do at each step.
Let us walk through the complete wedding photography timeline. From the day you start looking for a photographer to the day you hold your album in your hands.
Why a Photography Timeline Matters
A wedding photography timeline is not just a schedule. It is a stress management tool.
When you know what happens next, you stop worrying about what you might be forgetting. You stop sending panicked messages to your photographer at midnight. You stop wondering if you should have booked earlier or planned differently.
A timeline also protects your photos. When you book early, you get the photographer you want. When you plan your pre-wedding shoot on time, you get photos you can use for invitations. When you share your family portrait list in advance, you get every grouping you wanted. When you understand editing timelines, you do not panic when the full gallery takes eight weeks.
If you want a broader overview of how photography fits into your overall wedding budget, our wedding photography budget guide covers that in detail. This post focuses specifically on the timeline.
Phase 1: Research and Booking (12–18 Months Before)

This is the most important phase. The earlier you start, the more options you have.
Months 12–18: Research styles and photographers
Start by understanding the different photography styles. If you are still confused between traditional, candid, and cinematic, read our guide on traditional vs candid vs cinematic wedding photography. It breaks down the differences, pros, cons, and typical pricing.
Once you know what style you want, start shortlisting photographers. Look at their portfolios. Read reviews. Check their Instagram. See if their style matches what you want.
Months 10–12: Schedule consultations
Shortlist five to eight photographers. Schedule calls or meetings with each. Ask about their availability, their process, their pricing, and their delivery timelines. Pay attention to how they communicate. If they are slow to respond now, they will be slow later.
Months 8–12: Book your photographer
Once you have found the right photographer, book them. Do not wait. Popular photographers book out six to twelve months in advance, especially during peak wedding season in India.
Sign a contract. Pay the retainer. The retainer is usually twenty to fifty percent of the total fee. It locks your date and ensures the photographer does not take another booking for that day.
Phase 2: Vision and Planning (6–12 Months Before)
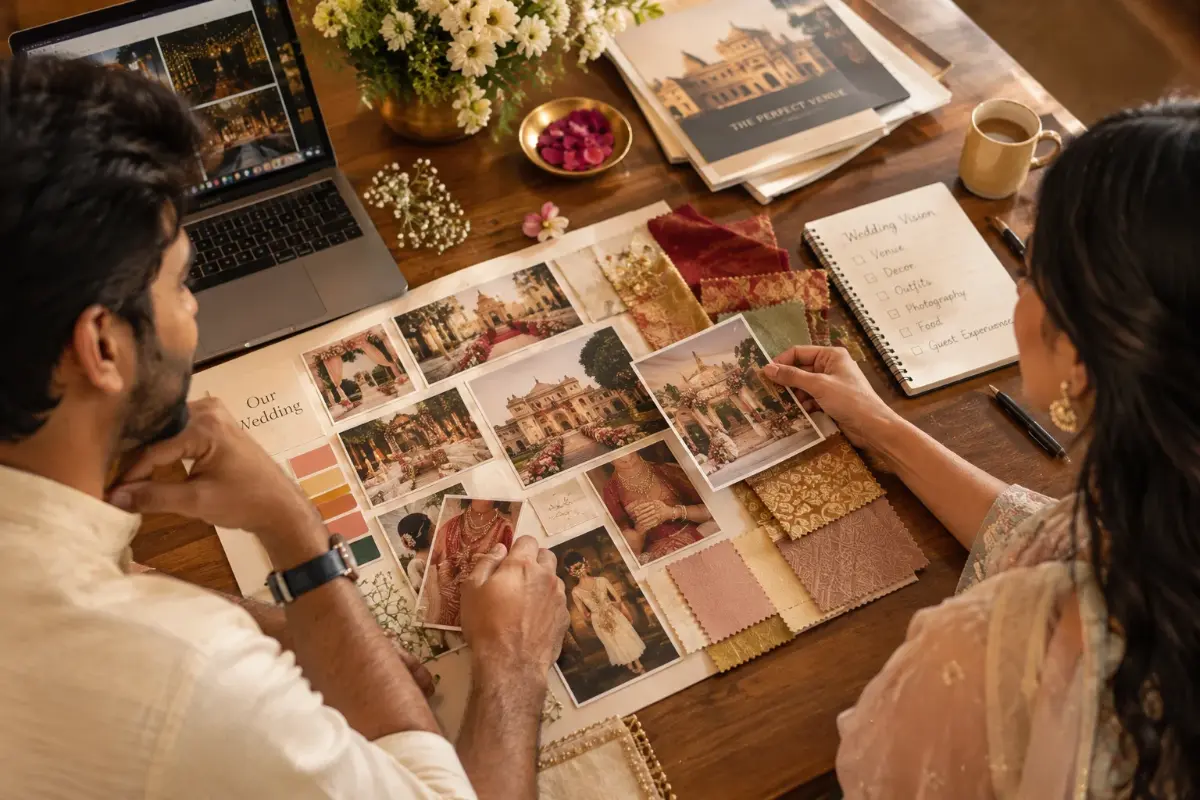
Now that you have booked your photographer, it is time to plan the details.
Share your vision
Set up a call or meeting with your photographer. Share your wedding vision. What kind of photos do you want? What moments matter most? What family dynamics should they know about?
Create a mood board
A mood board helps your photographer understand your aesthetic. Collect images you love. Colours, compositions, lighting, poses. Share them. Your photographer will use them as a reference, not a checklist.
Plan the pre-wedding shoot
If you are doing a pre-wedding shoot, start planning it now. Choose a location. Decide on outfits. If you are looking for ideas, our guide on 15 creative pre-wedding photoshoot ideas covers beach sunsets, rooftop setups, and studio sessions. If you are in Bangalore, our guide to the best pre-wedding locations in Bangalore has specific recommendations.
Venue walkthrough
Visit your wedding venue with your photographer. Walk through the space. Identify the best angles, the lighting conditions, and the portrait locations. If a walkthrough is not possible, share videos and photos of the venue.
Create a rough day-of timeline
Work with your photographer and your wedding planner to create a rough timeline for the wedding day. When does coverage start? When are the family portraits? When is the couple portrait session? Build in buffer time.
Phase 3: Pre-Wedding Shoot (2–6 Months Before)
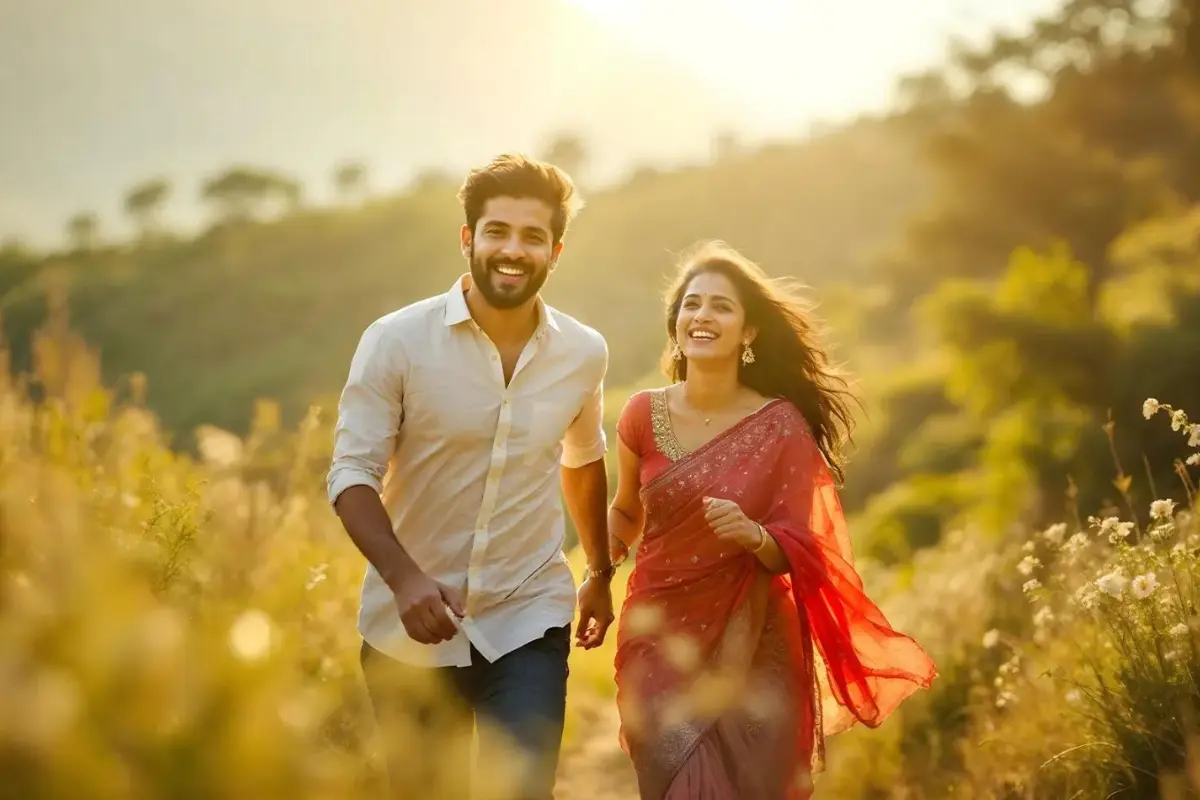
The pre-wedding shoot is a chance to get comfortable in front of the camera before the wedding day.
Finalise the date and location
Confirm the shoot date with your photographer. Check the weather. Have a backup plan if you are shooting outdoors. Confirm the location permissions if needed.
Plan your outfits
Most couples change outfits two or three times during a pre-wedding shoot. Choose outfits that reflect your personality and complement the location. Avoid busy patterns that might distract from the photos.
Shoot day
Relax. Trust your photographer. The pre-wedding shoot is low-pressure. It is a chance to have fun and get used to being photographed. If you are nervous, tell your photographer. They will guide you.
Review the proofs
Within two to four weeks, your photographer will share the edited proofs. Review them. Select your favourites. These can be used for wedding invitations, decor, or a slideshow at the reception.
Phase 4: Final Countdown (1–4 Weeks Before)
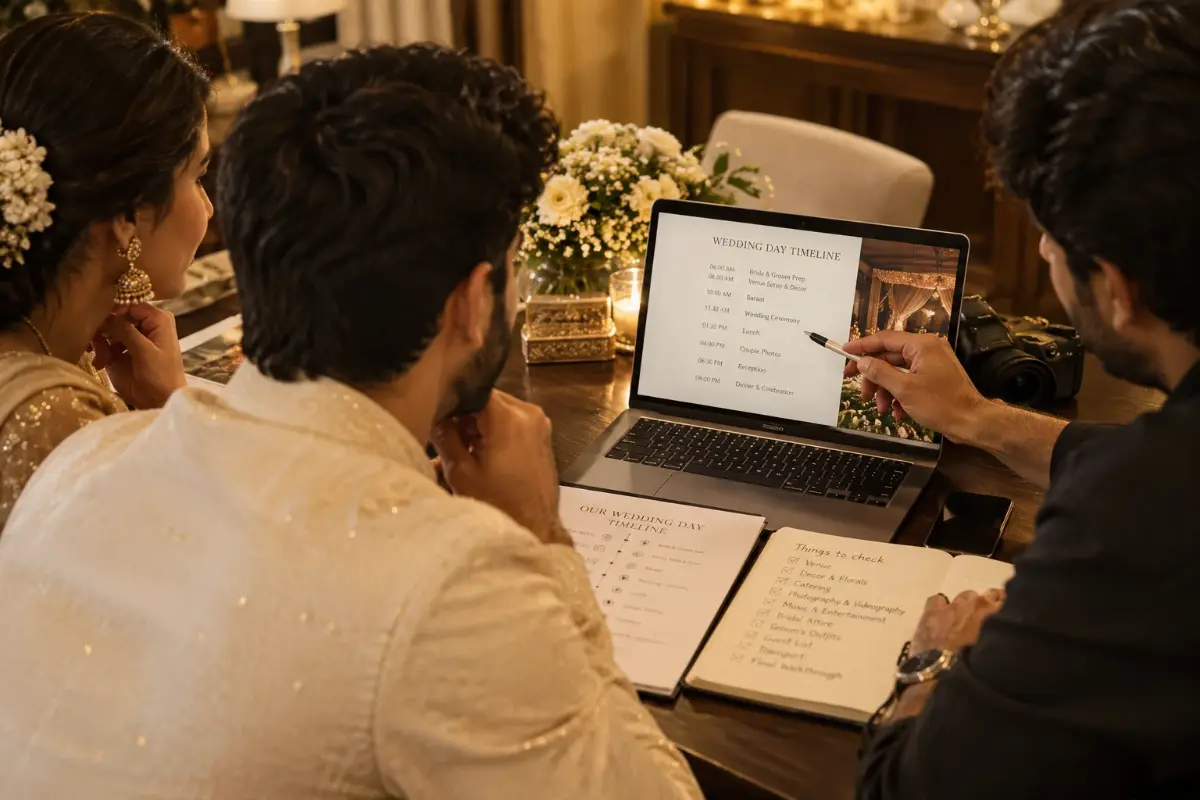
The final weeks are about confirming details and making sure nothing is missed.
Final consultation
Schedule a final call with your photographer. Confirm the coverage start time, the number of team members, and the delivery timeline. Ask any last-minute questions.
Share the detailed day-of schedule
Send your photographer a detailed schedule. Include the timing of each event, the location, and the key people involved. If there are multiple events (mehendi, sangeet, wedding, reception), share the schedule for each.
Create a family portrait list
This is one of the most important things you can do. List every family grouping you want. Both sides of the family. Immediate and extended. Assign a point person from each side to help gather people during the portrait session.
Keep the list manageable. Ten to fifteen groupings is ideal. More than that and you will spend your entire cocktail hour posing for photos instead of enjoying the moment.
Share vendor contacts
Give your photographer a list of key vendor contacts. Your wedding planner, your makeup artist, your venue coordinator. This helps with coordination on the day.
Pack your emergency kit
Prepare a small emergency kit for the wedding day. Blotting paper, safety pins, a mini sewing kit, pain relief, and anything else you might need. Your photographer will have their own kit, but it helps to have yours too.
Phase 5: Wedding Day Coverage
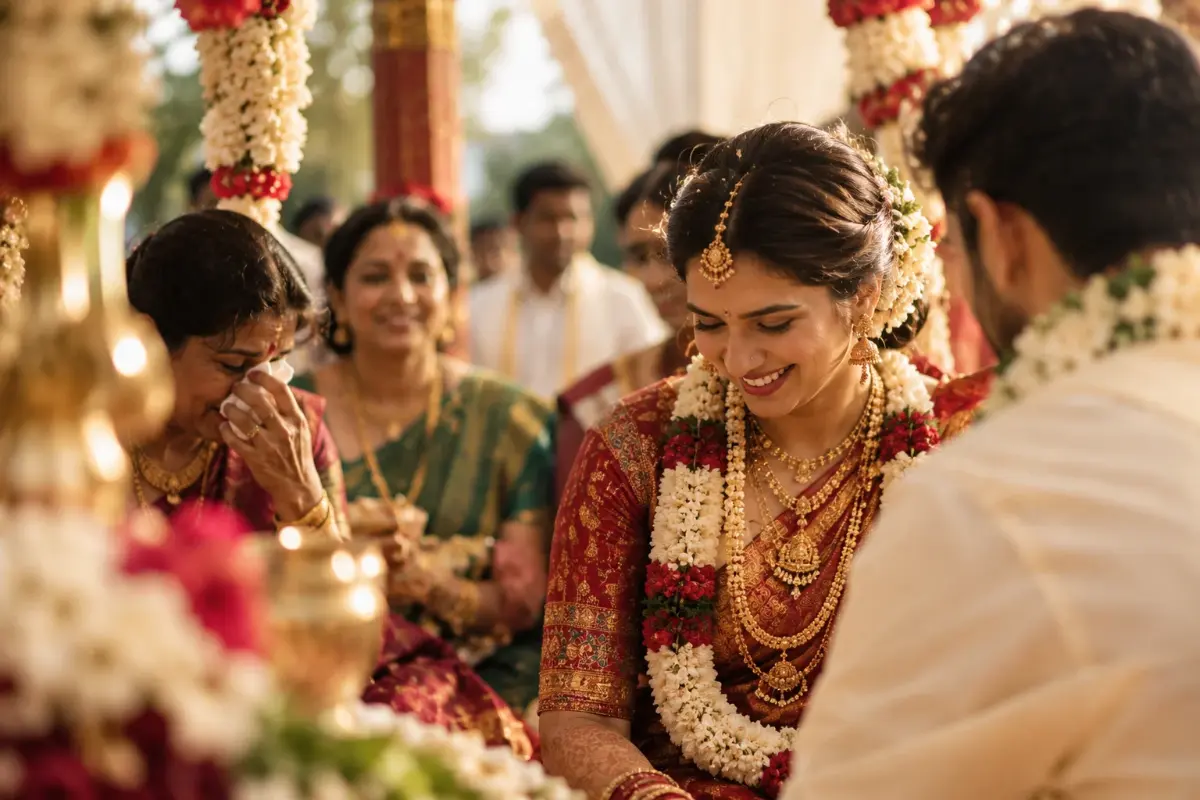
The wedding day is what everything has been leading up to. Here is a typical coverage flow.
Getting ready (2–3 hours)
Coverage usually starts two to three hours before the ceremony. The photographer captures the bride and groom getting ready, the details (jewellery, outfits, invitations), and the pre-ceremony moments with family and friends.
First look or baraat
If you are doing a first look, this is when it happens. If you are having a baraat, the photographer captures the groom's procession. Both are full of emotion and make for great photos.
Ceremony
The photographer documents the ceremony from multiple angles. Every ritual. Every emotion. Every important moment.
Family portraits (30–60 minutes)
This is when your family portrait list comes in handy. The photographer works through the groupings efficiently. Have your point people ready to gather family members.
Couple portraits (45–60 minutes)
This is your time. Step away from the crowd. Take a walk. Be with each other. Your photographer will capture natural, relaxed portraits. If you want cinematic shots, this is when they happen.
Reception
The photographer captures the reception coverage. Speeches, dances, candid moments with guests, and the overall atmosphere.
Grand exit
The final shots of the night. The send-off. The last moments of your wedding day.
Phase 6: Editing and Album Delivery (2–20 Weeks After)
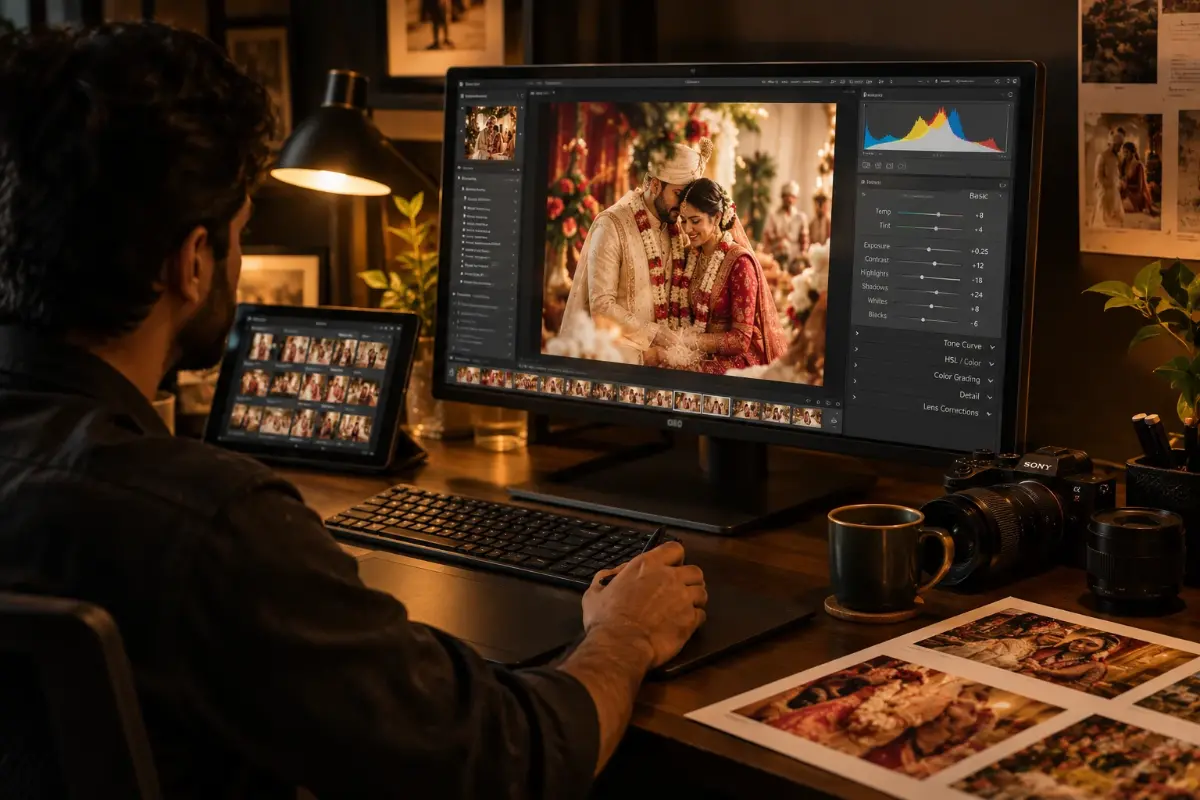
After the wedding, the work continues. Here is what happens behind the scenes.
Week 1–2: Backup and culling
The photographer backs up all the files. Then they go through every image and select the best ones. This is called culling. A wedding can produce thousands of images. The photographer narrows them down to the ones that tell the story.
Week 2–6: Editing
Editing is where the magic happens. Colour correction. Exposure adjustments. Retouching. Each image is edited to match the photographer's signature style. This takes time. Rushing it shows.
Week 4–6: Preview delivery
Most photographers deliver a preview of twenty to fifty edited images within four to six weeks. This gives you something to share with family and friends while the full gallery is being prepared.
Week 6–12: Full gallery delivery
The full edited gallery is delivered within six to twelve weeks. This includes all the selected and edited images from all the events. You will receive them via an online gallery or a physical drive.
Week 8–12: Album design
If you ordered an album, the design process starts after you select your favourite images. The photographer designs the layout. You review it. You request changes. This usually takes two to four weeks.
Week 12–20: Printing and delivery
The album is printed and bound. This takes four to eight weeks depending on the album type and the printer. Then it is delivered to you. The final album is a keepsake you will have for the rest of your life.
The Complete Timeline at a Glance
| Phase | When | What Happens | Your Action |
|---|---|---|---|
| Research and Booking | 12–18 months before | Research styles, shortlist photographers, consultations | Book your photographer, sign contract, pay retainer |
| Vision and Planning | 6–12 months before | Share vision, mood board, plan pre-wedding shoot | Venue walkthrough, discuss family dynamics |
| Pre-Wedding Shoot | 2–6 months before | Plan outfits, locations, complete the shoot | Review proofs, select favourites |
| Final Countdown | 1–4 weeks before | Final consultation, day-of schedule, family portrait list | Confirm all details, pack emergency kit |
| Wedding Day | Day 0 | Getting ready, ceremony, portraits, reception | Relax, trust your photographer, enjoy your day |
| Editing and Preview | 2–6 weeks after | Backup, culling, editing, preview delivery | Review preview, share with family |
| Full Gallery | 6–12 weeks after | Full edited gallery delivered | Download, back up, select album images |
| Album Design and Delivery | 12–20 weeks after | Album design, printing, binding, delivery | Review design, approve, receive album |
Timelines shown are typical ranges and may vary based on event scope, location, deliverables, and photographer workload. Confirm specific timelines with your photographer.
Common Timeline Mistakes to Avoid
Even organised couples make mistakes. Here are the most common ones.
- Booking too late. The best photographers book out early. If you start looking six months before your wedding, you may not get your first choice.
- Not sharing a family portrait list. Without a list, you will miss groupings. And you will spend your cocktail hour trying to organise people instead of enjoying the moment.
- Not building buffer time. Weddings run late. If your schedule is tight, something will get cut. Usually the couple portraits.
- Expecting photos immediately. Editing takes time. A good photographer will not rush it. Expect six to twelve weeks for the full gallery.
- Not confirming delivery timelines in the contract. Verbal promises mean nothing. Get everything in writing.
- Forgetting to back up your photos. Once you receive your gallery, back it up. Cloud storage. External drive. Both. Do not rely on a single copy.
How to Stay on Track
Here is a simple system to keep your photography timeline on track.
- Create a shared calendar. Add every photography-related deadline. Booking deadline. Pre-wedding shoot date. Final consultation. Delivery windows. Share it with your partner and your photographer.
- Set reminders. Two weeks before each deadline, set a reminder. This gives you time to prepare without panicking.
- Keep a folder. Create a folder for your photography documents. Contract. Invoices. Shot lists. Family portrait list. Vendor contacts. Keep everything in one place.
- Communicate early. If something changes, tell your photographer immediately. A schedule change. A venue change. A family dynamic. The earlier they know, the better they can adapt.
- Trust the process. Once you have done your part, trust your photographer to do theirs. They have done this before. Let them work.
Real Stories: When Timelines Go Right and Wrong

When the timeline works
I once worked with a couple who booked me fourteen months before their wedding. They did everything on time. Pre-wedding shoot at six months. Final consultation at one month. Family portrait list shared two weeks before. The wedding day ran smoothly. They got their preview in four weeks. Full gallery in eight weeks. Album in sixteen weeks.
Everything was on schedule. Not because we rushed. Because we planned.
When the timeline goes wrong
I have also seen the opposite. A couple who booked a photographer three months before their wedding. The photographer was available, but the pre-wedding shoot was rushed. The family portrait list was never shared. The wedding day schedule was tight. The couple portraits got cut short. The photos were delivered late because the photographer was overbooked.
The photos were still beautiful. But the experience was stressful. And the couple did not get everything they wanted.
The lesson
The timeline is not just about the photographer. It is about you. The earlier you start, the more control you have. The more you plan, the less you stress. The more you communicate, the better the outcome.
Quick Reference
All timelines are typical ranges and may vary by event, city, deliverables, and specific requirements.
Frequently Asked Questions
The Last Frame
Here is what I told Ananya, the bride with eleven spreadsheets:
"You do not need to control everything. You just need to know what happens next."
She took the timeline. She shared it with her fiancé and her planner. She booked her photographer fourteen months before the wedding. She planned the pre-wedding shoot at six months. She shared her family portrait list two weeks before. She built buffer time into the wedding day schedule.
And on the wedding day, she did not worry about the photos. She trusted her photographer. She enjoyed her wedding. She was present.
That is what a timeline gives you. Not control. Freedom. The freedom to stop worrying about what you might be forgetting and start enjoying what is happening right in front of you.
Your photos will last a lifetime. Your timeline is how you make sure they are everything you wanted.
Plan early. Communicate clearly. Trust the process. And then let go.
Want a personalised photography timeline for your wedding? Let us help you plan it. No pressure, no sales pitch. Just an honest conversation about what will work for your day.
Book Your Free ConsultationGet In Touch